Calibration+
Easy and accurate digital negatives calibration !
Better alternative photo printing with easy calibration !
Calibration+ helps you for alternate process printing, by allowing fine tone control on your digital negatives.
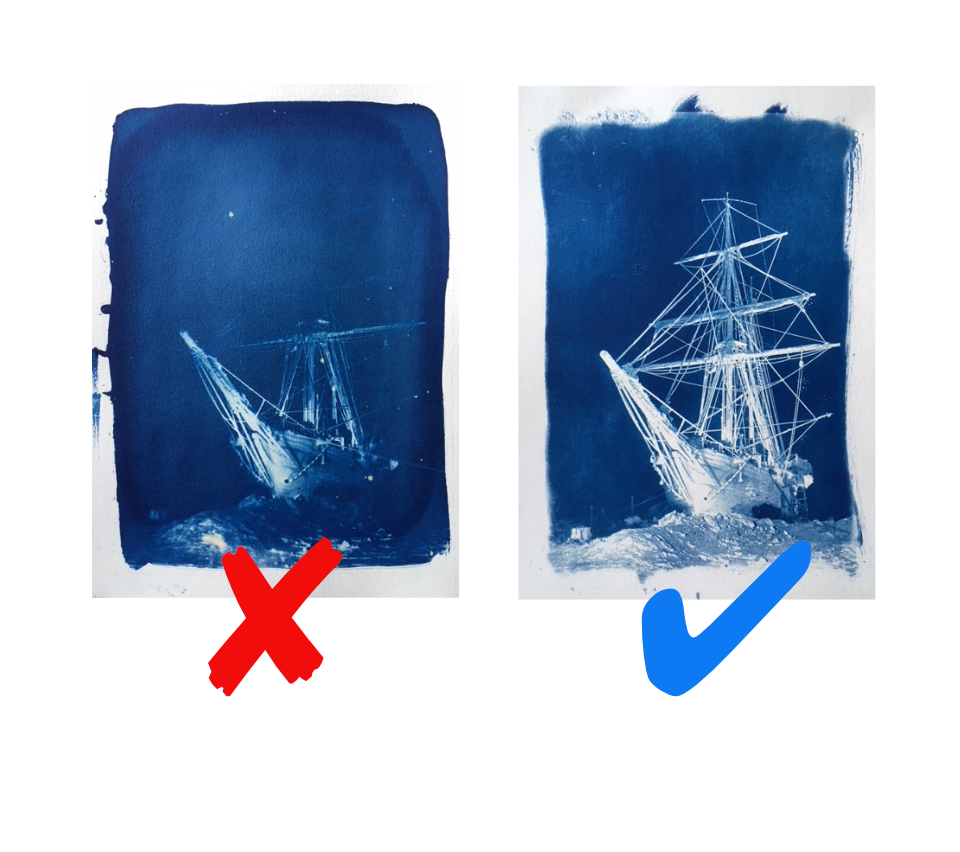
For instance, the cyanotype process is contrasted with poor half tones. Calibration+ helps you to have better prints with dark, white and halftones by designing a correction curve.
With Calibration+, generate a reference chart on your device. Use your favorite image processing software :Adobe Photoshop™, Gimp, Affinity Photo™, Lightroom™… to generate digital negative. Invert. Flip. Print (as usual).
Photograph the print! Calibration+ computes the adjustment curve in your photo software to have perfect prints.
Instructions
Calibration+ helps you with digital negatives printing process, by allowing more control on tones.\n\nFor instance, the cyanotype process is contrasted with poor half tones.
Calibration+ helps you to have better prints with dark, white and haltones by designing a correction curve.
Step 1: Create chart"
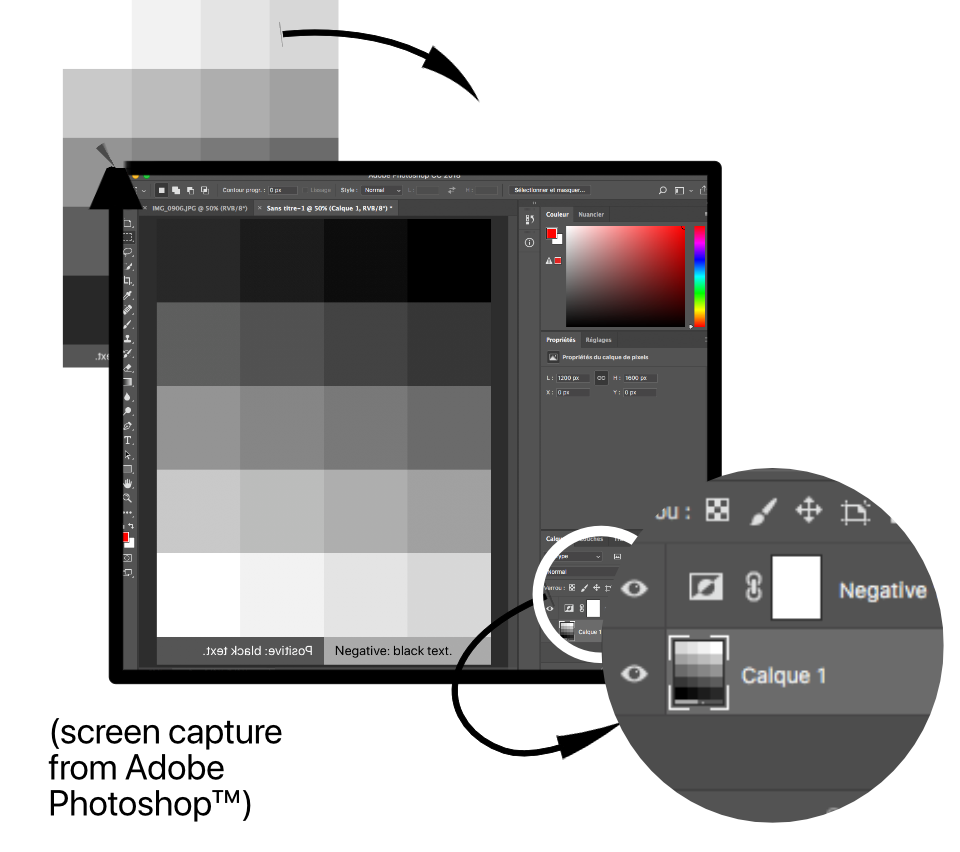
Generate a reference chart on your iPhone. Save it to photo album and transfer it to mac/pc. Use your favorite image processing software:Adobe Photoshop™, Gimp, Affinity Photo™, Lightroom™… to generate digital negative. Invert. Flip. Print (as usual)"
Step 2: Expose the chart" ;
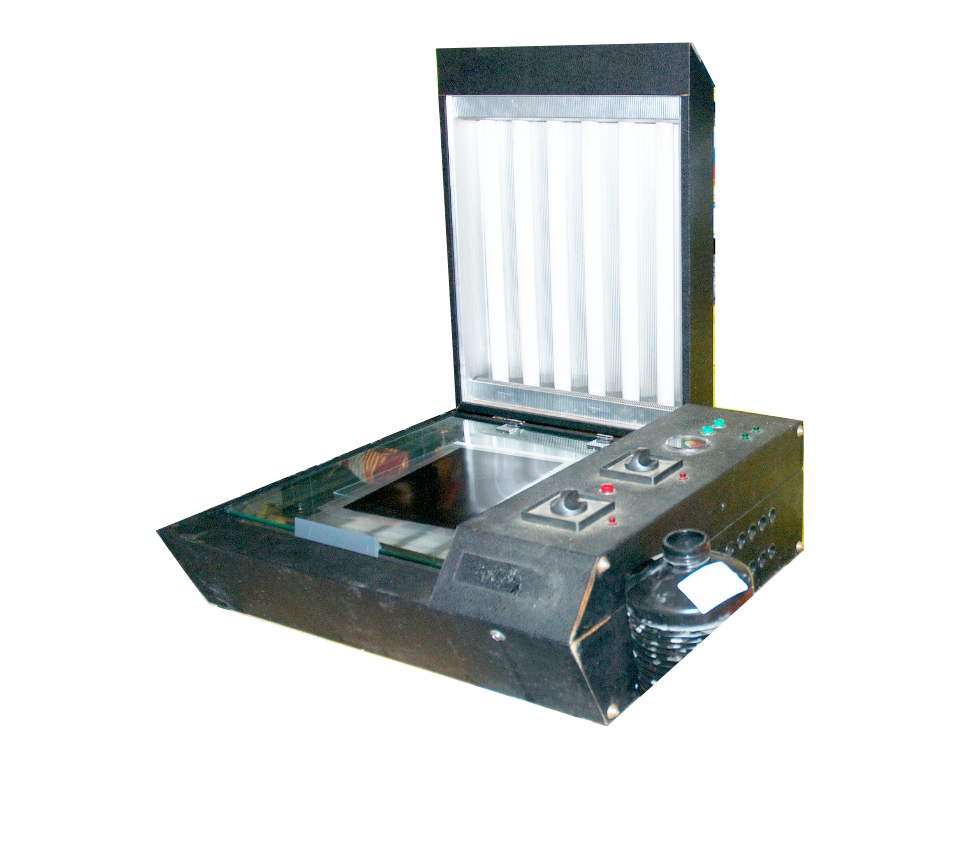
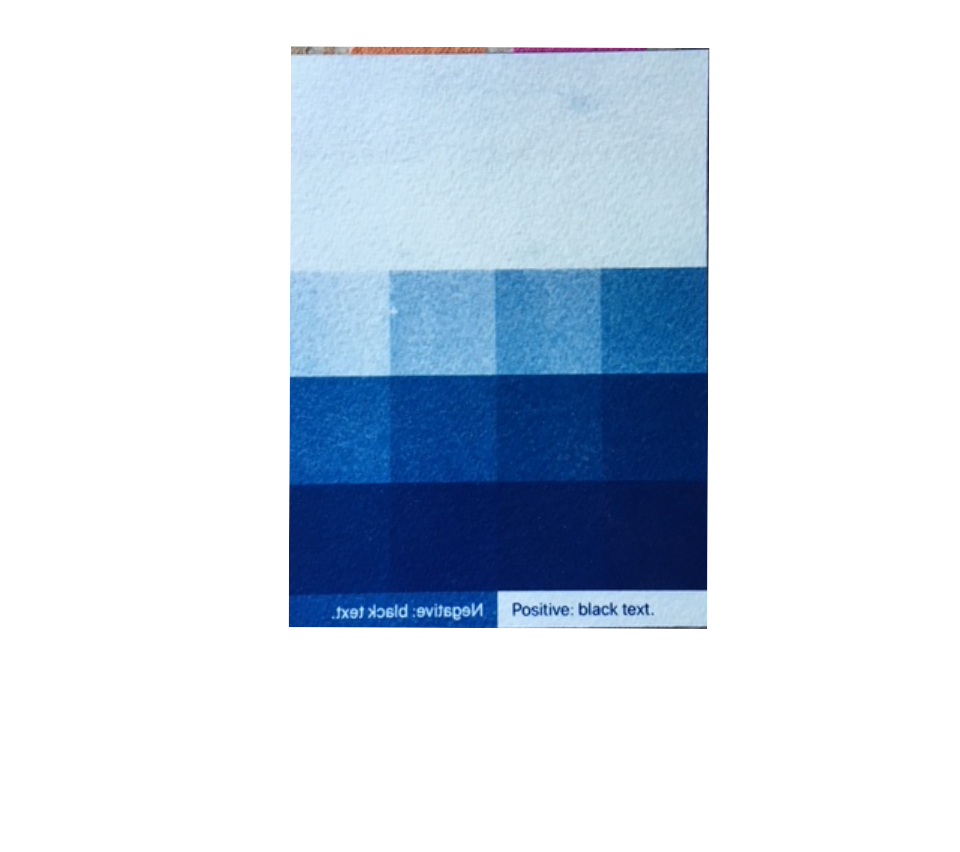
Do your print with the digital negative. \nThe right time of exposure is the one that give you the darker tones. No longer: if you increase the exposure time, you should not get darker tone.
Step 3: Scan the chart"
Go to Step 3 of Calibration+.\nPhotograph the printed processed chart . Align it carefully with the reference image.\nYou can directly take the photo within Calibration+, or use the photo album.
Step 4: Curve Adjustement"
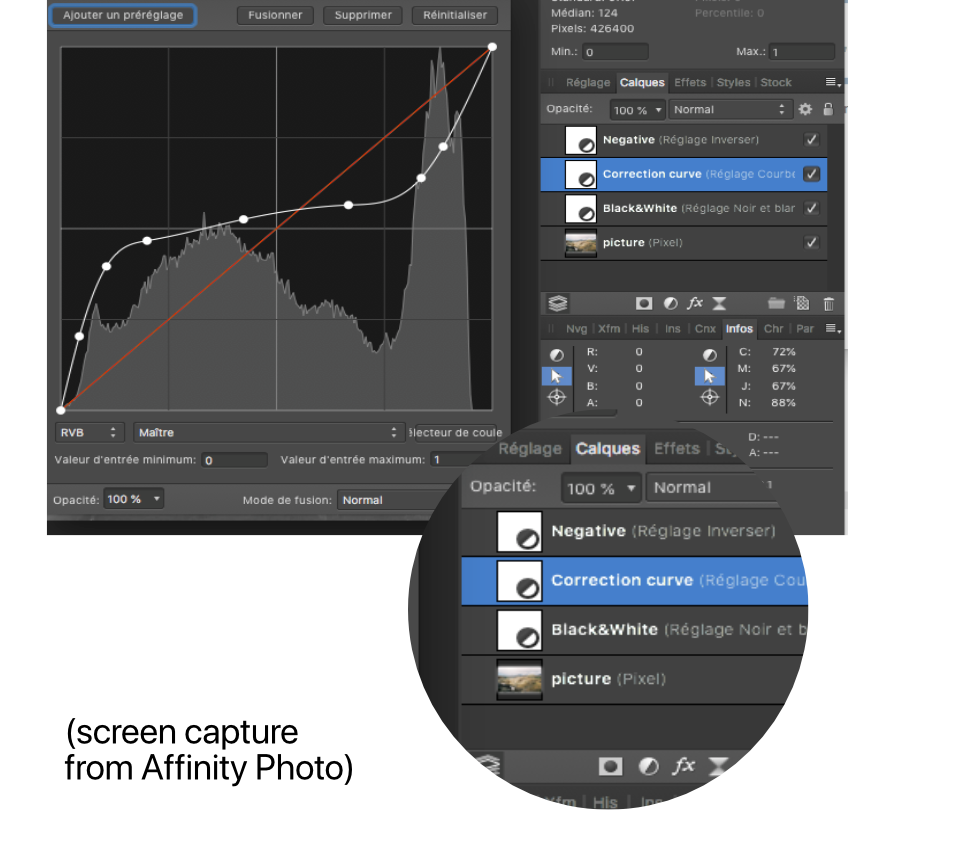
Calibration+ now computes the correction curve to have perfect prints.\nReproduce the curve in the "Curve Adjustement" layer of Adobe Photoshop™ or similar sofware: Affinity Photo™, Lightroom™, Luminar™…
Stacks your layers in the following order: positive image, then black and white conversion, then curve correction, then invert (negative).
Some quick tips"
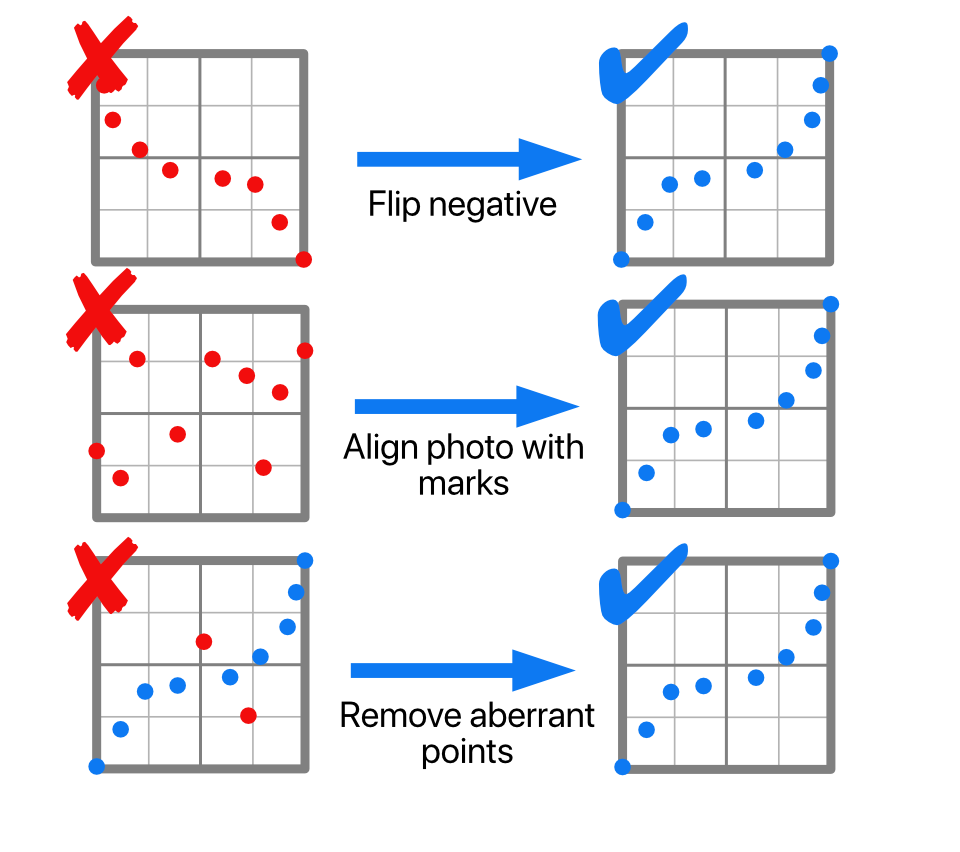
Avoid reflections when you photograph the print.\nCurves should start a zero and and at one, slowly increasing. you might need to ignore aberrant points that are too far away from the other.
Save the correction curve you designed as a preset in your photo software. Check your curve regularly.
